Hosting my Zola-based blog on S3 with the CloudFront CDN is great, but I need some extra functionality.
Welcome to my new blog! The site is built with Zola, which is a static site generator written in Rust. I decided to use Zola to see how the experience compares to working with other technologies I've used including WordPress and Hugo.
My site is hosted on S3, and I am using CloudFront as my content distribution network (CDN). This simplifies serving up the content in a secure manner with a TLS certificate. This also improves latency to anyone reading the blog throughout the world.
One challenge that I ran into is when I click on any links on the site, "index.html" is not being loaded up automatically. CloudFront has a default root object setting. However, it only applies to the root of the website. I figured no one wants to correct my URL's just to read my blog. So, I researched my options.
Fortunately, Amazon Web Services (AWS) has a couple options for automatically rewriting my URLs. I've experimented with (Lambda@Edge) in the past, but I was curious about the recently-launched CloudFront Functions. I decided to take the new service for a spin since it's aimed at simpler use cases like mine. I'll share my thoughts on when to consider which of these two options at the end of the article.
CloudFront Functions Walkthrough
For my setup, I used AWS sample code shared on GitHub:
function handler(event) {
    var request = event.request;
    var uri = request.uri;

    // Check whether the URI is missing a file name.
    if (uri.endsWith('/')) {
        request.uri += 'index.html';
    }
    // Check whether the URI is missing a file extension.
    else if (!uri.includes('.')) {
        request.uri += '/index.html';
    }
    return request;
}
In the CloudFront console, navigate to Functions, click Create Function, enter a name for your function, and click Continue.

Enter your source code, click Save, then click Test
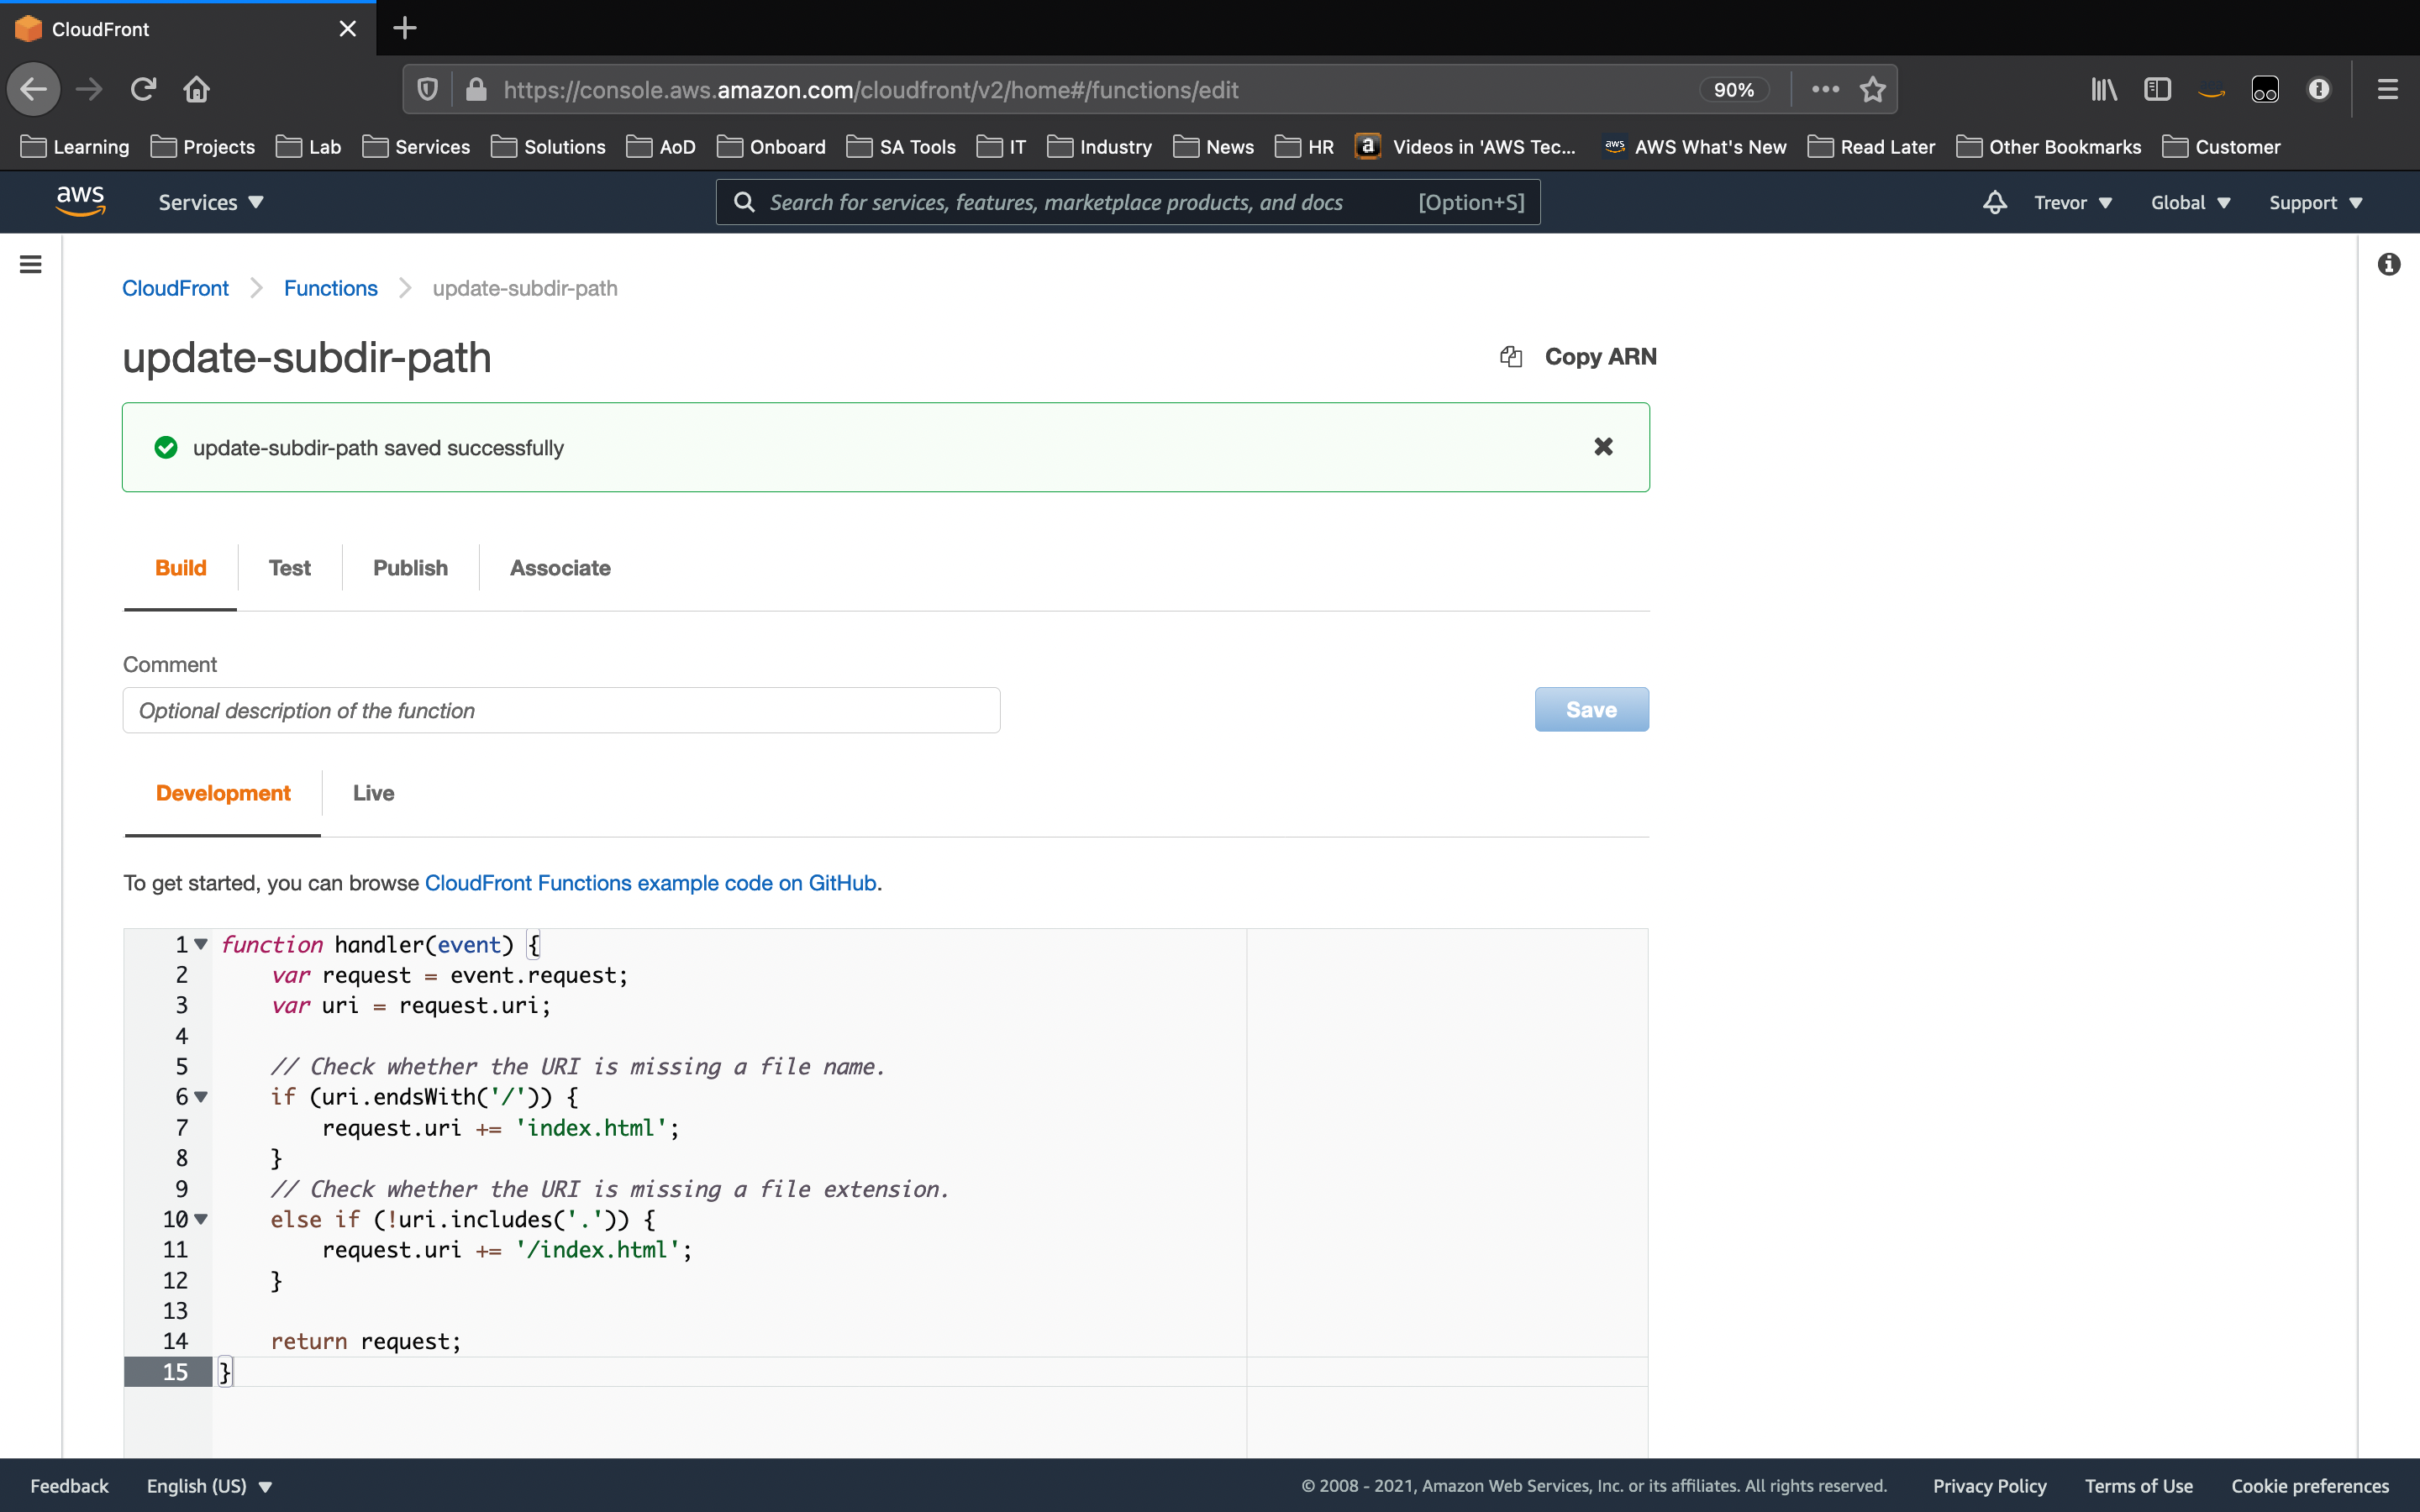
Choose your Event type, provide the appropriate input(s) to validate your code functionality, and click Test.

Scroll down to verify the Output is what you expect to see. Then, click the Publish tab.

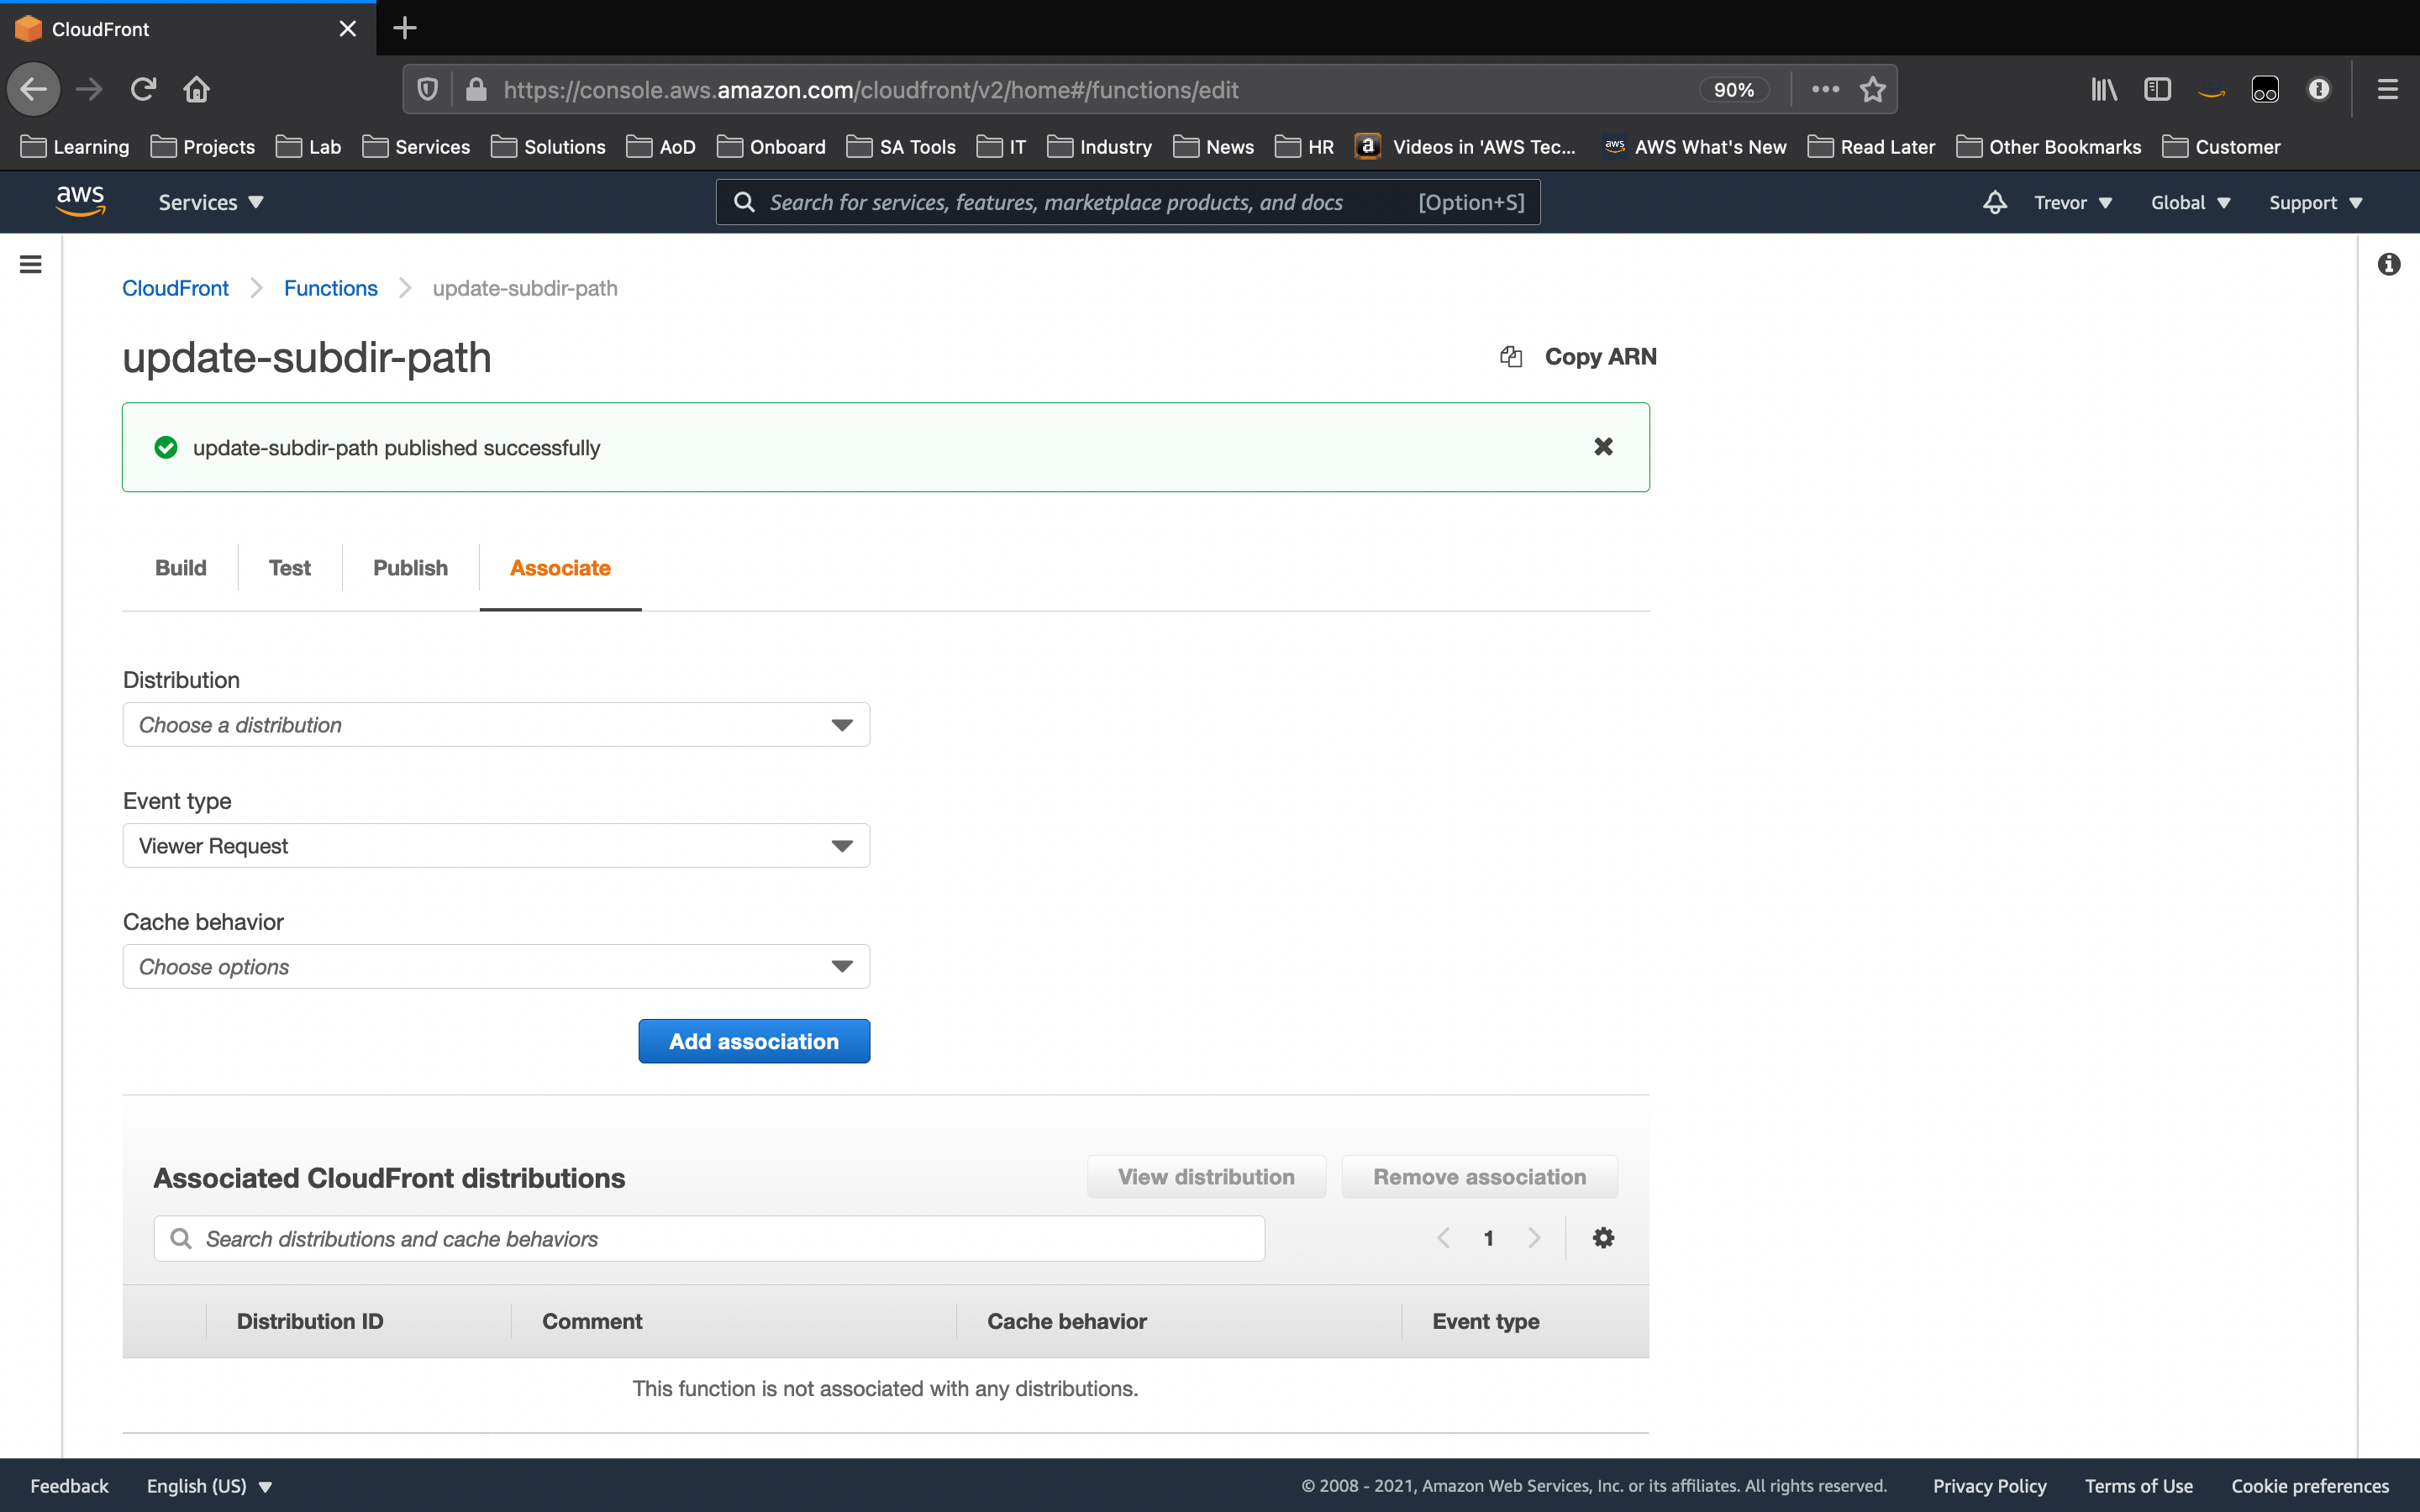
Click Publish to move the CloudFront Function from the Development stage to Live.

Finally, associate the CloudFront Function with your CloudFront distribution. Specify the Event Type (Viewer Request vs Viewer Response) that you want to trigger the code and the distribution Cache behavior you wish to use.
Not bad at all. However, if you find yourself reacting to all of this pointing and clicking as Frank Costanza might ("there had to be another way!"), I'll be sharing how to automate the deployment in a follow-up article.
When should I use Lambda@Edge or CloudFront Functions?
Reasons to use Lambda@Edge
- You need to run code in reponse to origin requests/reponses
- You want language flexibility (Node.js and Python)
Reasons to use CloudFront Functions
- It can be more cost-effective at $0.10 per million requests vs $0.60 per million requests for Lambda@Edge
There are other considerations, and this AWS blog article does a good job spelling them out to help you choose the right option for your workload.
If you found this article useful, let me know on Twitter!